Homemade Cultured Butter Recipe for Beginners
If you have never made your own butter before, this easy cultured butter recipe is the perfect place to start. With just a few basic ingredients and a bit of patience, you can make homemade cultured butter right in your own kitchen. The flavor is rich, slightly tangy, and far better than most store-bought butter from the grocery store.
Once you try it, you may never go back to regular butter again.
**This post contains affiliate links. We are a participant in the Amazon Services LLC Associates Program, an affiliate advertising program designed to provide a means for us to earn a small commission by linking to Amazon.com and affiliated websites.
What Is Cultured Butter?
Homemade cultured butter is made by adding live cultures to heavy cream and allowing it to sit at room temperature. During this fermentation process, beneficial bacteria thicken the cream mixture and create a tangy flavor that tastes similar to sour cream or crème fraîche.
Unlike sweet cream butter, which is made from fresh cream without culturing, cultured cream develops a unique flavor. This is why european butter often tastes richer and more complex.
The best part? You only need heavy cream and plain yogurt with live cultures to get started.
Why Make Your Own Butter?
Making your own butter is a great way to:
- Control the quality of your dairy products
- Use best quality cream, especially if you can find raw milk cream
- Avoid additives found in some grocery store brands
- Enjoy fresh butter with a better shelf life when stored properly
Ingredients for Homemade Cultured Butter
You only need two basic ingredients:
- 1 quart heavy cream (For best results, use heavy cream that is not ultra-pasteurized. However, ultra-pasteurized cream can still work in a pinch—I’ve tested it myself with success)
- 4 tablespoons Greek plain yogurt with live cultures
Make sure the yogurt culture is active. Check the ingredient list to confirm it contains live cultures.
How to Make Homemade Cultured Butter
Culture the Cream
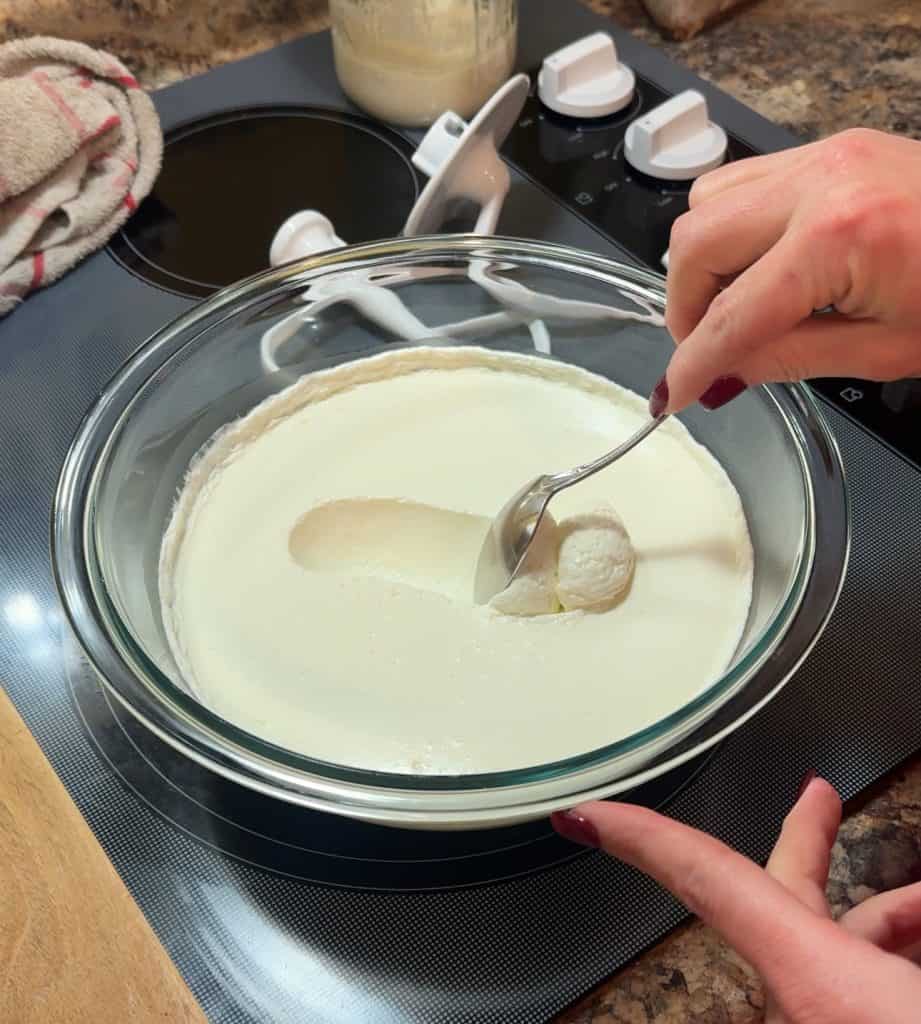
In a large bowl or large mixing bowl, pour in one quart of heavy cream. Stir in 4 tablespoons of Greek yogurt.
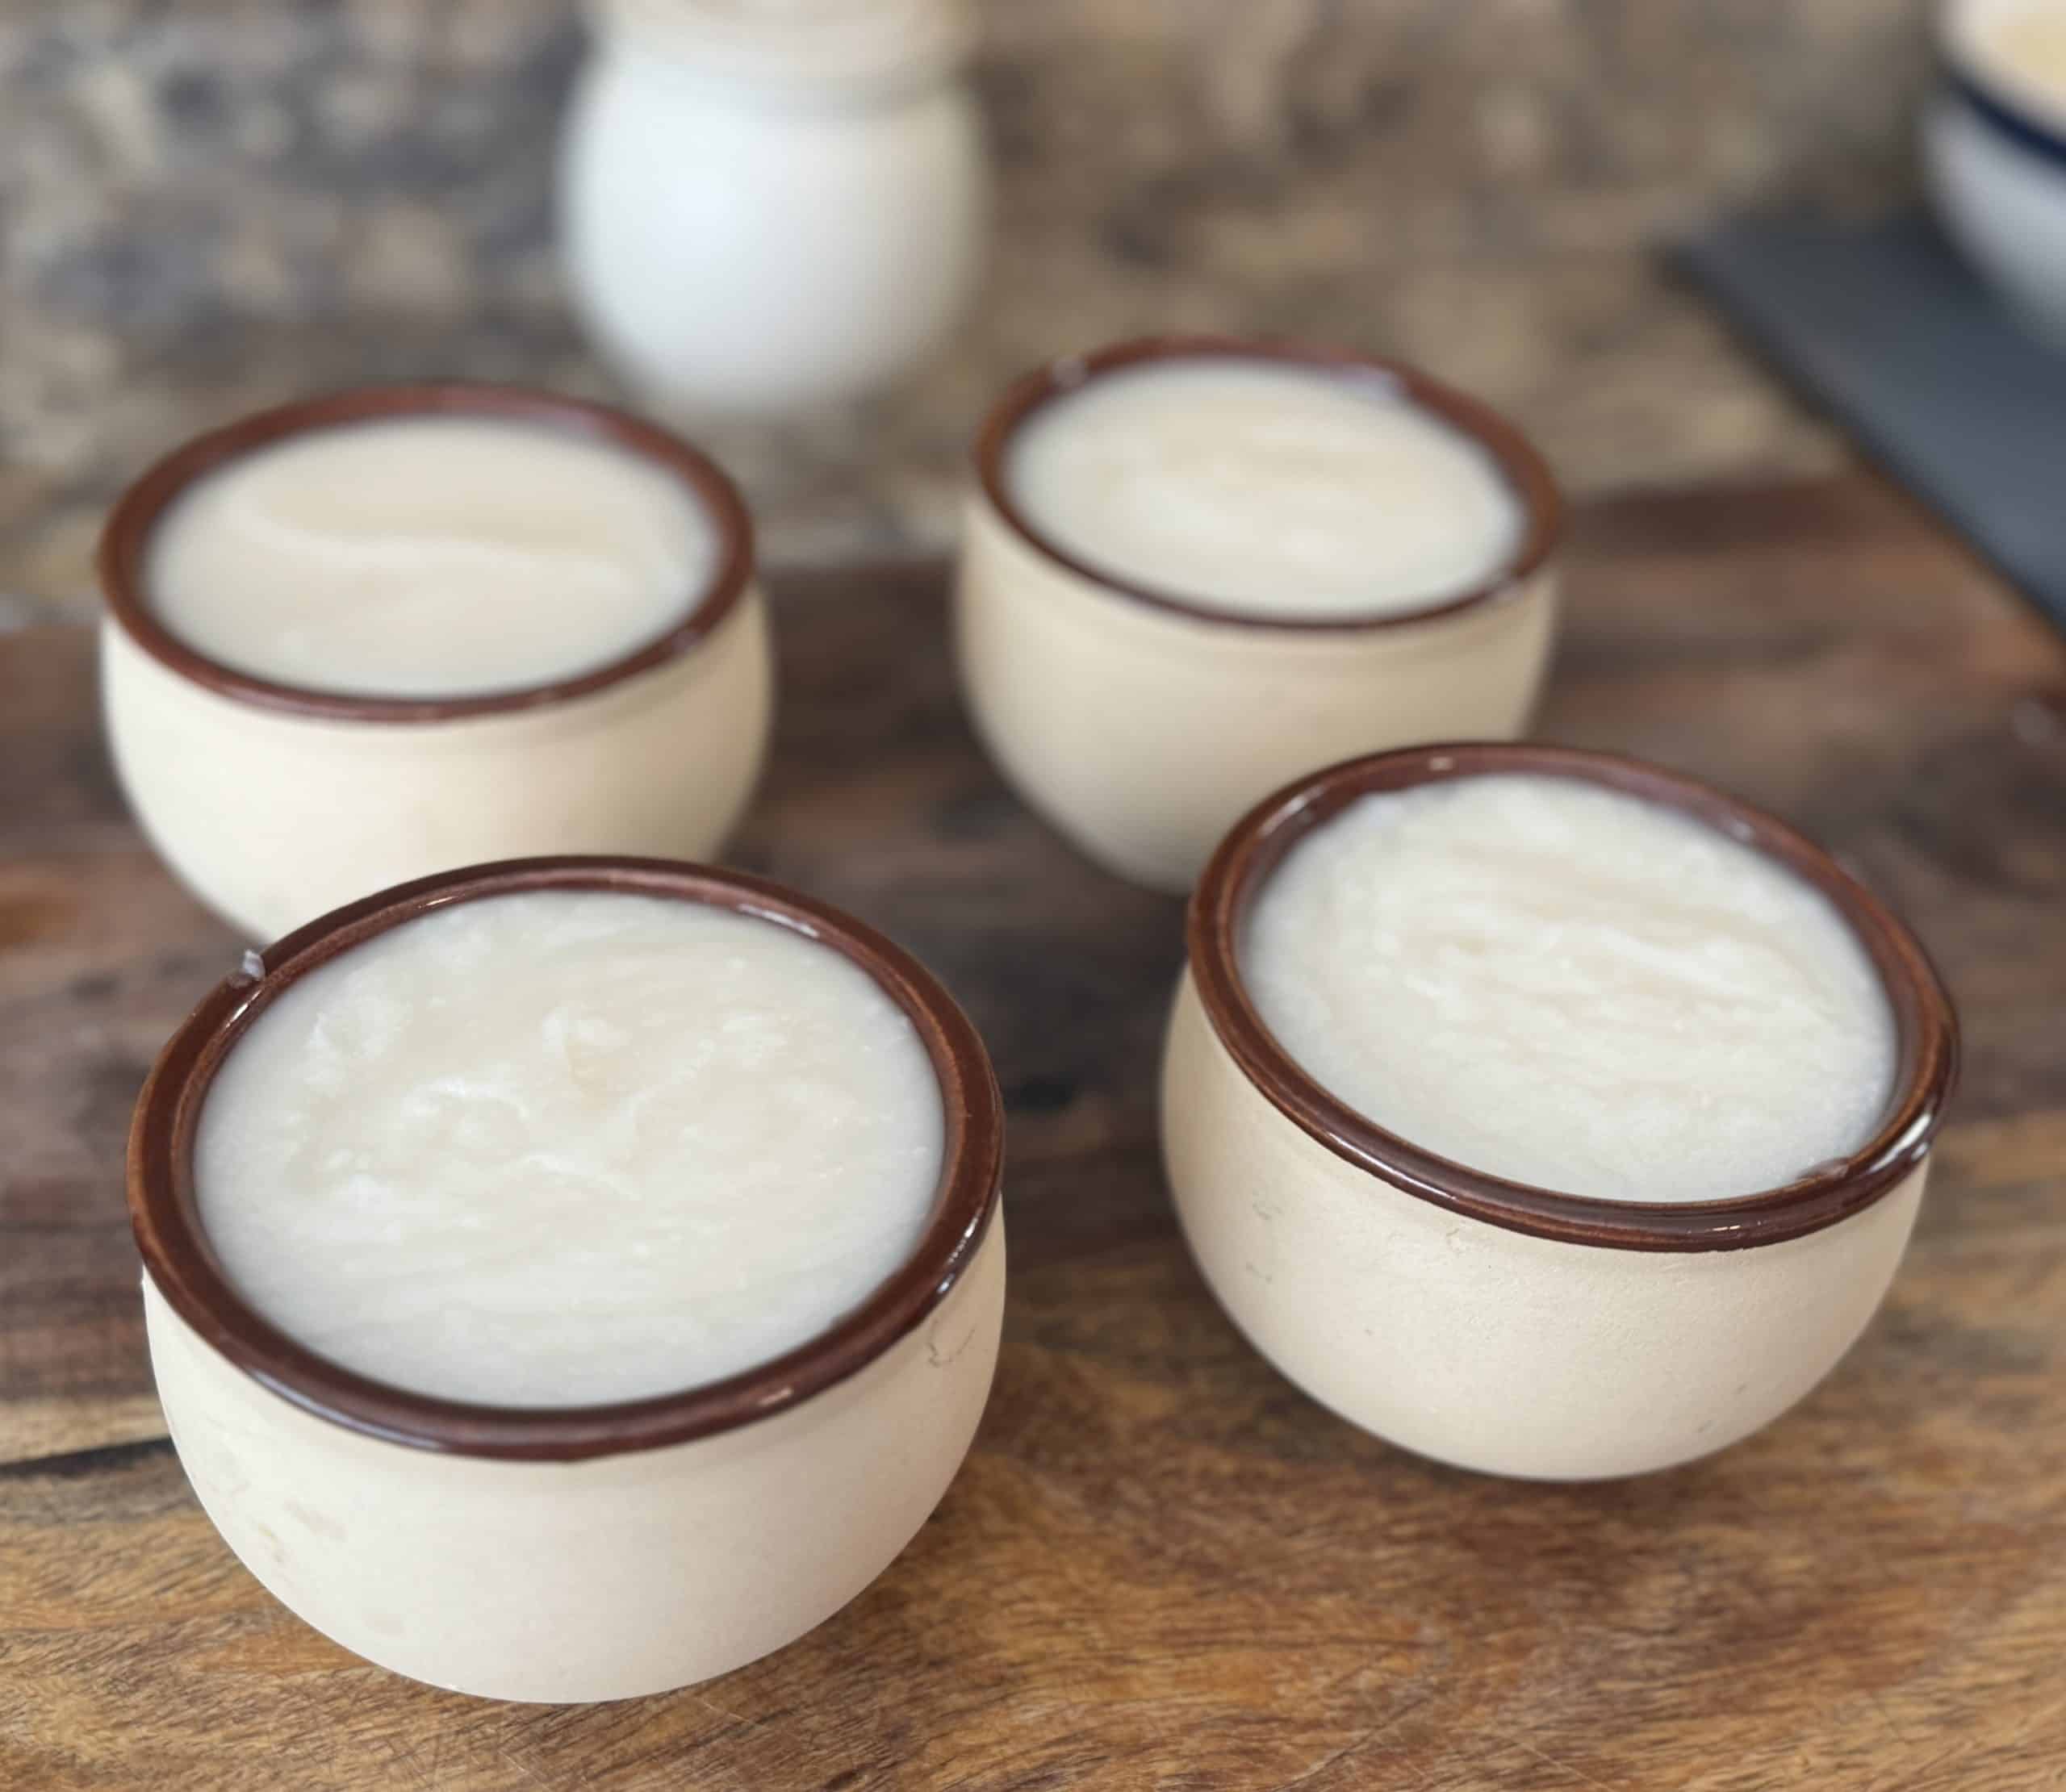
Cover the bowl with plastic wrap, or place a clean kitchen towel over the top and secure it with a rubber band. Set the bowl in a warm place at room temperature or ambient temperature for at least 48 hours.
This culturing step is where the fermentation process happens. Over a bit of time, the cream mixture will thicken. You will know it is ready when the entire bowl looks like yogurt or sour cream. It should no longer be thin like fresh milk.
If you prefer, you can culture the cream in a clean glass jar or mason jar with a tight fitting lid.
Churn the Butter
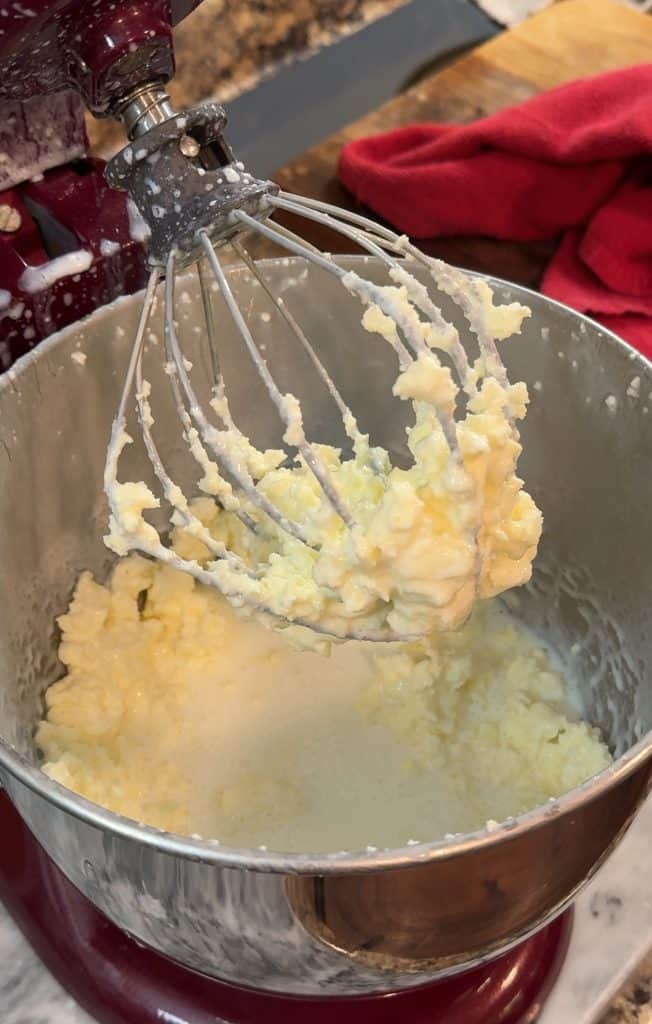
Once the cultured cream is thick, pour it into a stand mixer fitted with a whisk attachment. You can also use a hand mixer or food processor. In the past, people used a butter churn or shook a jar of cream until it turned into whipped cream and then butter.
Start mixing at medium speed, then increase to high speed. First, it will look like whipped cream. Keep mixing. Soon, the cream separates into a solid mass of butter fat and remaining liquid.
This is when the cream separates fully. The remaining liquid is real buttermilk, also called cultured buttermilk. Do not throw away the leftover buttermilk. Save the cup of buttermilk for baking biscuits, making ranch dressing or sourdough bread.
Wash the Butter
Pour off as much buttermilk as possible. Then place the butter into a bowl of ice water or very cold water. This washing process removes excess buttermilk and improves shelf life.
Knead the butter gently in the ice water to release excess water and excess buttermilk. Drain the cloudy water and repeat the final wash until the water runs clear.
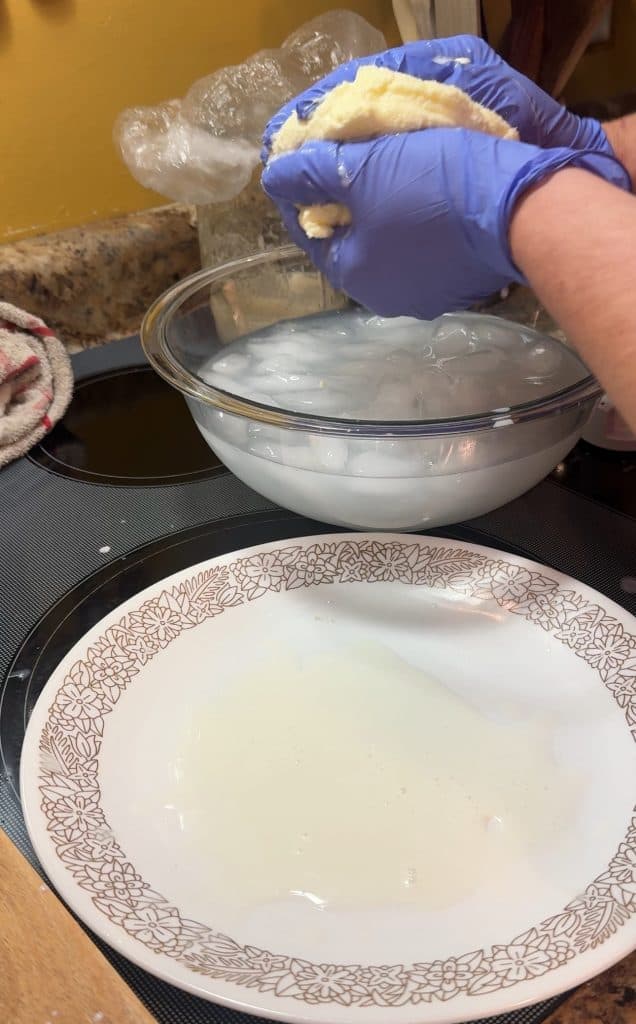
You can also strain the butter through a mesh sieve or butter muslin before washing.
Removing the remaining buttermilk is important. If you leave too much water or remaining liquid in the butter, it can spoil faster.
Salt and Store
At this point, you have fresh butter. For salted butter, mix in a little salt or sea salt to taste. This helps preserve it and enhances the tangy flavor.
Shape the butter into blocks and wrap it in parchment paper or a piece of wax paper. You can also store it in a butter crock, a clean glass jar, or a container with a tight fitting lid.
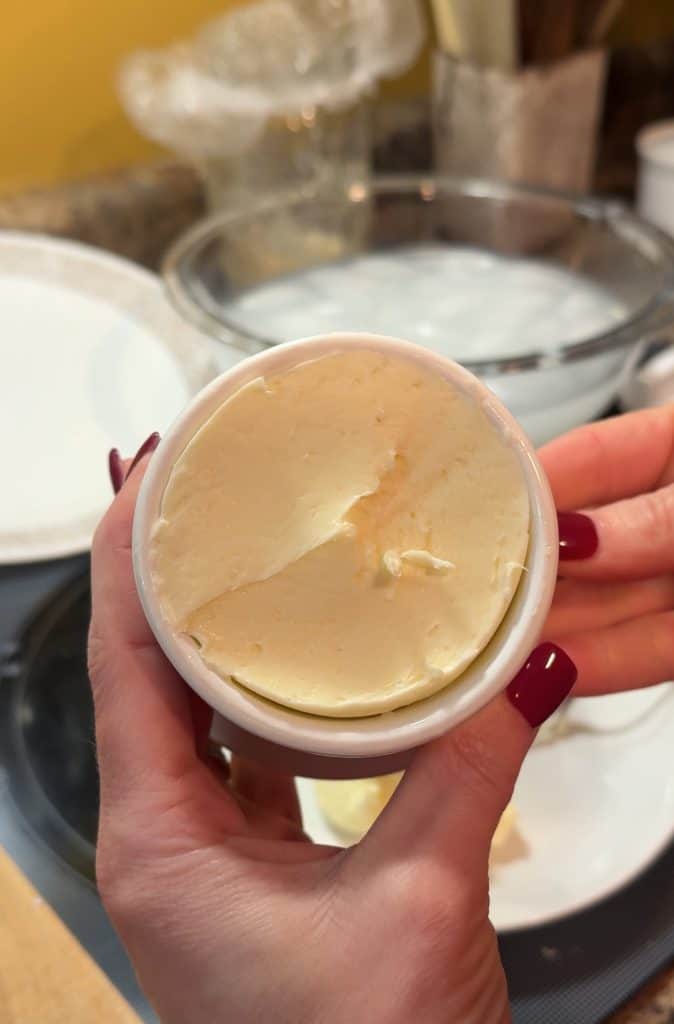
Store your homemade cultured butter in the refrigerator for best quality.
Tips for Best Results
- Use best quality cream for the richest flavor.
- Avoid ultra-pasteurized cream when possible.
- Keep the cream at proper room temperature during the culturing step.
- Wash thoroughly in very cold water to remove excess buttermilk.
- Add just a little salt if you want longer shelf life.
If your home in the United States is cool, you may need to let the cream sit a bit longer in a warm place. The fermentation process depends on temperature.
What About the Buttermilk?
The leftover buttermilk you pour off is real buttermilk, not the thick store-bought version. This homemade buttermilk is thinner and slightly tangy.
You can use cultured buttermilk in pancakes, biscuits, or sourdough bread. It is a great way to avoid waste and enjoy every part of your dairy products.
Cultured Butter vs Regular Butter
Regular butter, also called sweet cream butter, is made without fermentation. It has a mild taste.
Homemade cultured butter has a deeper, tangy flavor because of the yogurt culture and beneficial bacteria. It is similar to european butter, known for its rich taste and creamy texture that spreads effortlessly on warm bread.
Frequently Asked Questions
Can I use sour cream instead of yogurt?
Yes, as long as it contains live cultures.
Can I make this without a stand mixer?
Yes. Use a hand mixer, food processor, or even shake it in a mason jar. It just takes more bit of time and effort.
Can I use raw milk cream?
Yes. If you have access to raw milk, the flavor will be even richer.
How long does it last?
When properly washed and stored in the refrigerator, it will last similar to store-bought butter. Always keep it sealed to prevent excess water exposure.
Final Thoughts
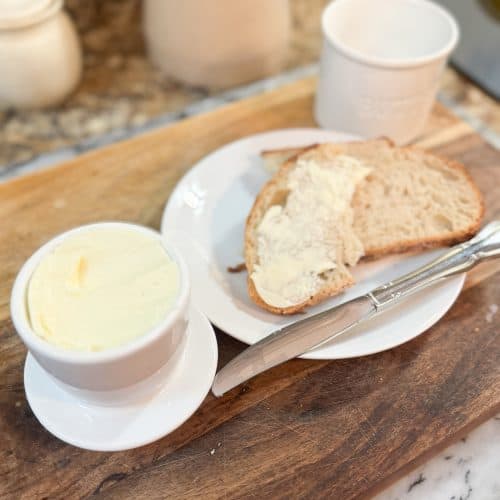
This delicious recipe proves that making your own butter does not require fancy tools. With heavy cream, plain yogurt, and a bit of patience, you can create homemade cultured butter in your own kitchen.
The flavor is rich, slightly tangy, and far better than most grocery store options. Once you experience that creamy texture melting over warm bread, you may decide this is the best butter you have ever tasted.
Homemade Cultured Butter
Equipment
- large mixing bowl
- Clean kitchen towel or plastic wrap
- Stand mixer with whisk attachment (or hand mixer or food processor)
- Mesh sieve (optional)
- Large bowl for ice water
- rubber spatula
- Parchment paper or butter crock for storage
Ingredients
- 1 quart heavy cream not ultra-pasteurized for best results
- 4 tablespoons plain Greek yogurt with live cultures
- Sea salt to taste (optional)
Instructions
- Combine the heavy cream and Greek yogurt in a large bowl. Stir until fully mixed. Cover and let sit at room temperature for 48 hours, or until thick like yogurt.
- Pour the cultured cream into a stand mixer fitted with the whisk attachment. Mix on medium speed, increasing to high, until the butter separates from the buttermilk.
- Drain off the buttermilk and reserve for baking if desired.
- Transfer the butter to a bowl of ice water. Gently knead and rinse until the water runs clear, changing the water as needed.
- Stir in sea salt if desired. Shape and wrap in parchment paper or store in a butter crock or airtight container in the refrigerator.