Simple No-Churn Coconut Lavender Ice Cream
Coconut lavender ice cream is a refreshing, no-churn treat that combines creamy coconut milk with the delicate floral notes of lavender for a unique homemade dessert. This simple recipe doesn’t require an ice cream maker and comes together with just a few ingredients you may already have in your kitchen.
**This post contains affiliate links. We are a participant in the Amazon Services LLC Associates Program, an affiliate advertising program designed to provide a means for us to earn advertising fees by linking to Amazon.com and affiliated websites.
Why You’ll Love This Recipe
This recipe is simple enough for the first time ice cream maker and doesn’t require special equipment like an ice cream machine or food processor. All you need is a mixing bowl, a stand mixer or hand mixer, and a freezer-safe container. The lavender buds give it a gentle floral flavor, while full fat coconut milk adds creamy body and healthy fats. A touch of maple syrup enhances the natural sweetness without overpowering the delicate smell of lavender.
Ingredients You’ll Need for Coconut Lavender Ice Cream
- 2 cups heavy cream (or coconut cream for dairy-free)
- 1 cup canned coconut milk or full fat coconut milk
- 1/2 cup lavender syrup
- 1/2 teaspoon dried culinary lavender buds
- 2 tablespoons maple syrup
- Optional: splash of vanilla extract or lemon juice for added flavor
How to Make Coconut Lavender Ice Cream
Whip the Cream
- Pour 2 cups of heavy cream into the bowl of a stand mixer with the whisk attachment (or use a large bowl and hand mixer if that’s what you have).
- Whip the cream on medium-high speed until soft peaks form. This should take about 3 minutes. Soft peaks mean the cream holds its shape but the tip gently folds over when you lift the whisk. This step builds the base structure of your ice cream, creating lightness without needing an ice cream machine.
Mix the Flavor Base
- In a separate medium bowl, combine coconut milk, lavender syrup, dried lavender buds, and maple syrup. You can also add a small splash of vanilla extract or lemon juice if you’d like to brighten the flavors.
- Whisk gently until everything is blended. This mixture infuses your ice cream with lavender flavor and adds the natural sweetness of maple syrup.
Combine the Mixtures
- Slowly pour mixture of coconut milk and syrup into the whipped cream. Do this gradually while the mixer is on low speed so the whipped cream doesn’t deflate.
- Once added, increase the speed slightly and whip until the mixture has thickened to a creamy consistency. This step ensures the coconut milk blends evenly with the whipped cream to create a smooth ice cream base.
Transfer to a Container
- Pour the ice cream base into a freezer-safe container. Smooth the top with a spatula so it freezes evenly.
- Place a layer of plastic wrap directly on the surface of the ice cream mixture before sealing with the lid. This helps prevent ice crystals from forming on top.
Freeze and Stir
Place the container in the freezer for 6–8 hours. For the first 2 hours, take it out every 30 minutes and stir it well with a spoon or spatula. Stirring breaks up any ice crystals and helps achieve a creamier texture. After 2 hours, let it freeze undisturbed until set.
Serve and Enjoy
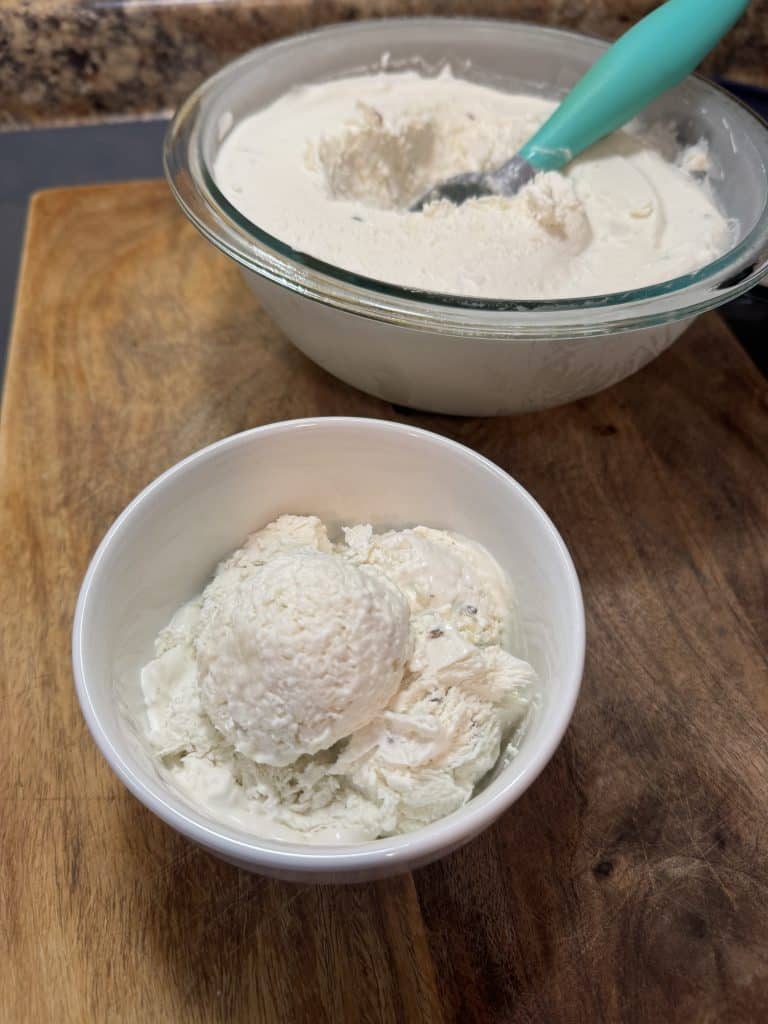
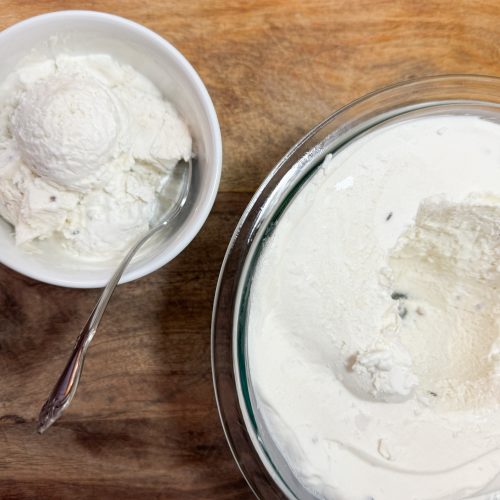
- Once frozen solid, your ice cream is ready to scoop! For easier scooping, let the container sit at room temperature for 5 minutes before serving.
- Enjoy it plain, or top with fresh blueberries, wild blueberries, a drizzle of maple syrup, or even a sprinkle of sea salt to balance the sweetness.
Final Thoughts
This simple no-churn coconut lavender ice cream is perfect for anyone who wants to enjoy homemade frozen desserts without special equipment. It’s an easy recipe with just a few steps and ingredients you can find at your local grocery store or a lavender farm. The fragrance of lavender mixed with the richness of coconut creates a refreshing dessert that’s perfect for any summer month or a cozy night in.
Try it out, and you’ll see why this ice cream method is so rewarding. Whether you’re serving it alongside fresh fruit, adding a drizzle of maple syrup, or enjoying it straight from the container, this coconut lavender ice cream is sure to be a family favorite.
Simple No-Churn Coconut Lavender Ice Cream
Equipment
- Stand mixer with whisk attachment (or hand mixer and large bowl)
- medium bowl
- spatula
- Freezer-safe container with lid
- plastic wrap
Ingredients
- 2 cups heavy cream
- 1 cup full fat coconut milk or canned coconut milk
- 1/2 cup lavender syrup
- 1/2 teaspoon dried culinary lavender buds
- 2 tablespoons maple syrup
- Optional: splash of vanilla extract or lemon juice
Instructions
- Add 2 cups of heavy cream to the bowl of a stand mixer with the whisk attachment. Beat on medium-high until soft peaks form, about 3 minutes.
- In a medium bowl, combine coconut milk, lavender syrup, lavender buds, maple syrup, and optional vanilla extract or lemon juice. Stir until blended.
- Slowly pour the mixture into the whipped cream while mixing on low speed. Once combined, increase speed slightly and whip until thick and creamy.
- Pour the mixture into a freezer-safe container. Smooth the top with a spatula. Place plastic wrap directly on the surface before sealing with the lid.
- Freeze for 6–8 hours. For the first 2 hours, remove every 30 minutes and stir well to break up ice crystals and create a creamier texture.
- Once frozen, remove from the freezer. Let sit at room temperature for 5 minutes before scooping. Serve plain or with toppings like fresh blueberries, wild blueberries, or a drizzle of maple syrup.