
DIY Bath Bombs
There’s something magical about dropping a colorful, fizzy bath bomb into warm bath water and watching it swirl and bubble. The good news is, you don’t have to spend a fortune to enjoy that experience. With just a few simple, natural ingredients from your local grocery store, you can make your own homemade DIY bath bombs. It’s a fun and easy project that’s perfect for creating thoughtful gifts for Mother’s Day, Valentine’s Day, Easter baskets — or simply for treating yourself to a little relaxation after a long day.
**This post contains affiliate links. We are a participant in the Amazon Services LLC Associates Program, an affiliate advertising program designed to provide a means for us to earn a small commission by linking to Amazon.com and affiliated websites.
Ingredient List for DIY Bath Bombs
Here’s what you’ll need for this homemade bath bomb recipe:
- 1 cup baking soda (sodium bicarbonate)
- 1/2 cup citric acid
- 1/2 cup epsom salt
- 1/2 cup corn starch
- 3 tablespoons avocado oil (or you can substitute coconut oil, olive oil, or jojoba oil as carrier oils)
- 1/2 tablespoon water
- 15 drops of your favorite essential oils (lavender essential oil is a relaxing choice)
- Optional: 1 teaspoon mica powder for color
- Optional: 1 tablespoon polysorbate 80 if using mica or food coloring to prevent staining
- Optional: dried flower buds or rose petals for an extra special touch
Helpful items:
- Large bowl
- Small bowl
- Spray bottle (for misting witch hazel if needed)
- Metal bath bomb molds or plastic Easter egg halves. I used a mold very similar to this one and made “bath bomb discs.”
- Airtight container or glass jar for storage
How to Make Your Own DIY Bath Bombs
Mix Your Dry Ingredients
In a large bowl, combine 1 cup of baking soda, 1/2 cup of citric acid, 1/2 cup of epsom salts, and 1/2 cup of corn starch. These dry ingredients create the base of your homemade bath bombs. Baking soda and citric acid are responsible for the fizzy chemical reaction when your bath bomb hits the bath water. Epsom salts help soothe sore muscles during a hot bath, and corn starch gives the bombs a silky texture that feels amazing on your skin.
Prepare Your Wet Ingredients
In a separate small bowl, mix together 3 tablespoons of avocado oil (or another carrier oil like coconut oil, jojoba oil, or olive oil), 1/2 tablespoon of water, and about 15 drops of your favorite essential oils. You can choose scents like lavender essential oil for a calming bath time, or fun blends like orange creamsicle for something refreshing.
Slowly Combine Wet and Dry Ingredients
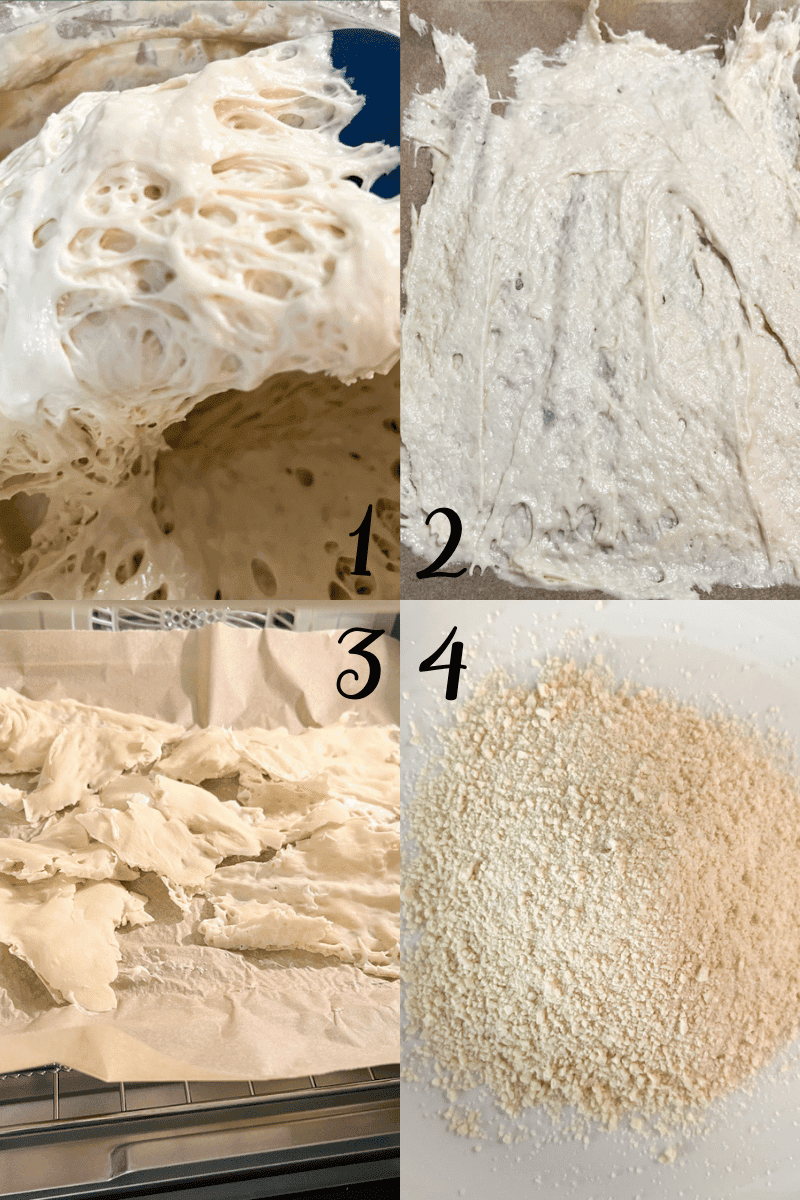
Very slowly pour the oil mixture into the dry mixture. Add a little bit at a time while stirring constantly. This step is crucial—if you add too much liquid too quickly, it can cause the citric acid and baking soda to react early, ruining the texture. You’re looking for the bath bomb mixture to feel like the texture of wet sand. When you squeeze it in your hand, it should hold its shape without crumbling or fizzing.
Adjust Moisture Carefully
If your dry mixture is still too crumbly after adding all the liquid ingredients, lightly mist it with a spray bottle filled with witch hazel. Only spray a tiny bit at a time, mixing well between sprays. Adding too much moisture can cause your bath bombs to start fizzing or cracking before they are even molded.
Mold Your Bath Bombs
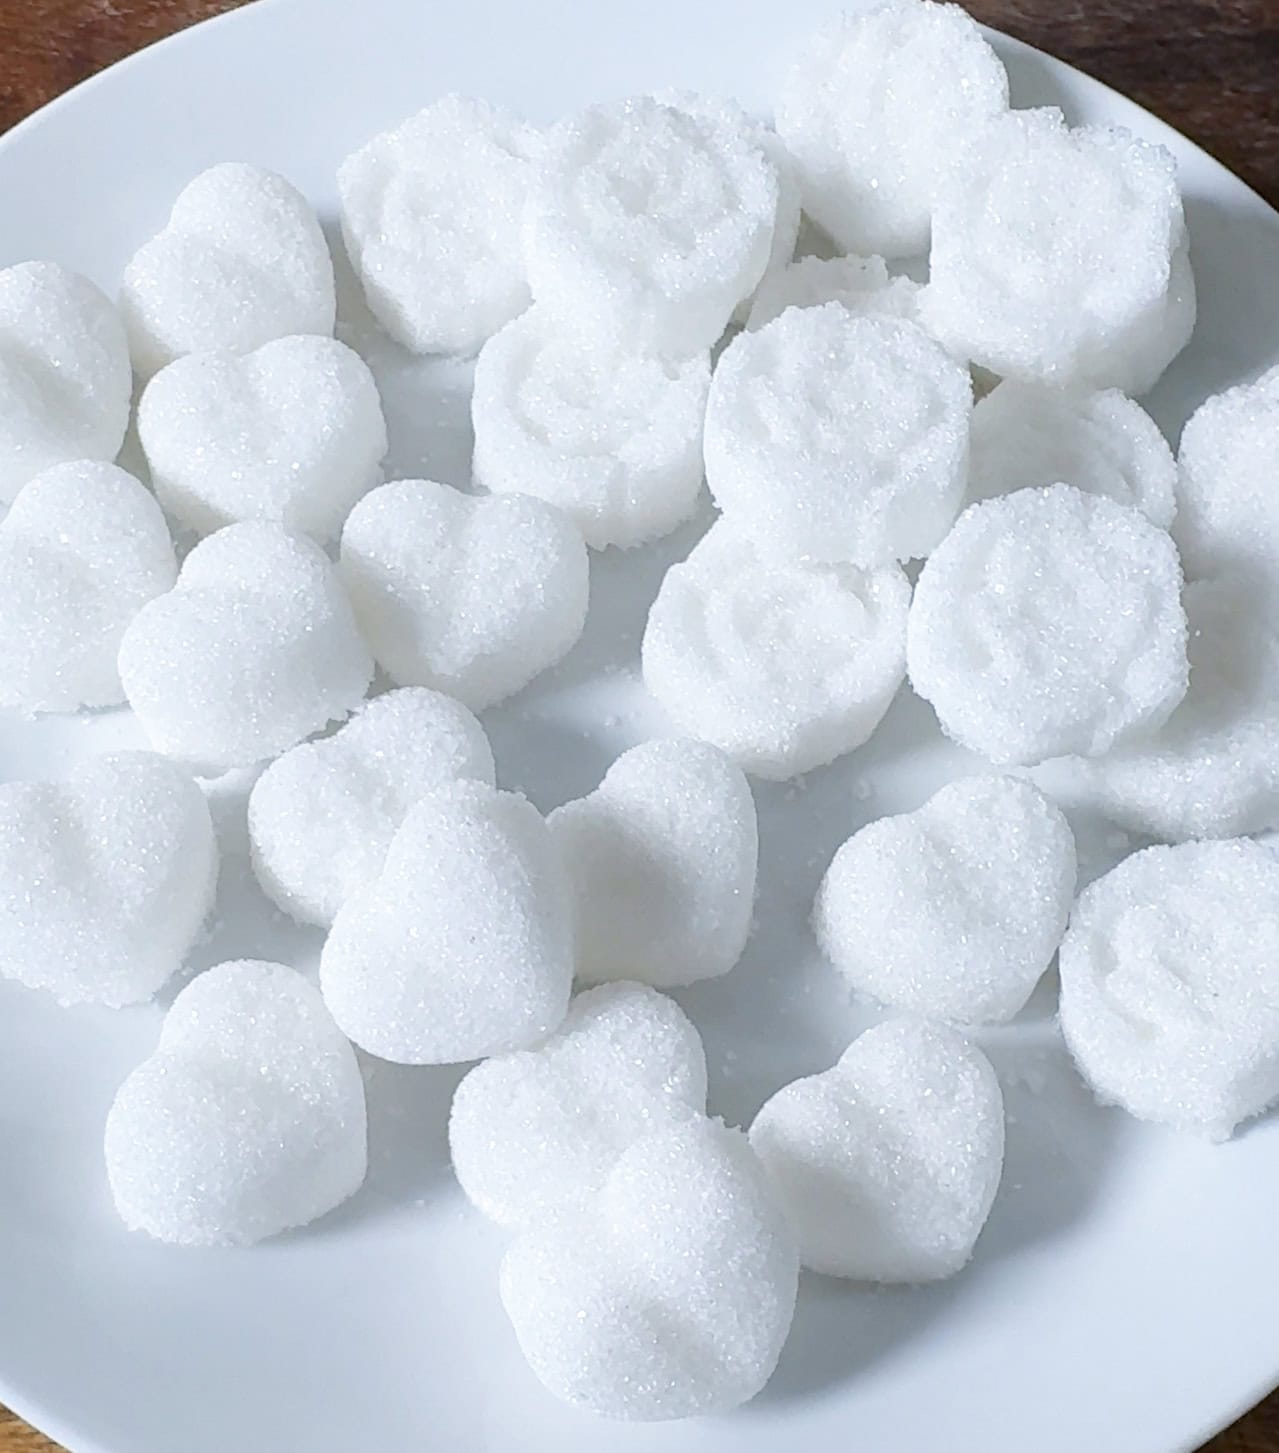
Once your bath bomb mixture feels just right, press it firmly into molds. You can use metal bath bomb molds, silicone molds, or even plastic Easter eggs. Pack the mixture tightly to avoid cracks once they dry. If you’re using round molds, slightly overfill each side and then press them together firmly.
Let Them Dry
Carefully remove the molds or let the bombs sit inside them, depending on the type of mold you’re using. Place your homemade bath bombs on a tray lined with parchment paper and leave them to dry at room temperature for at least 24 hours. This helps them harden properly and stay intact when you’re ready to use them.
Store Your Bath Bombs Properly
After drying, transfer your finished bath bombs into an airtight container, like a glass jar, to protect them from moisture and keep them fresh. Homemade bath bombs stored properly can last for several months and stay just as fizzy and fragrant as the day you made them.
Fun Customizations for DIY Bath Bombs
Different Colors
Use food coloring, liquid soap dye, or mica powder, but always pair them with polysorbate 80 to prevent staining your tub.
Fun Scents
Try creative combinations like orange creamsicle or mix your favorite essential oils for a custom blend.
Flower Petals
Add dried rose petals or other flower buds like lavender for a luxurious look.
Different Shapes
Experiment with molds to make Christmas trees, hearts for Valentine’s Day, or basic round bath bombs.
Tips for the Best Homemade Bath Bombs
- Always mix your dry ingredients and wet ingredients separately before combining them.
- Add the liquid mixture very slowly to the dry mixture to prevent the chemical reaction from starting too early.
- If you see your bath bomb cracks after drying, it may have been too dry. Next time, add a tiny bit more liquid mixture.
- You can swap avocado oil for other carrier oils like coconut oil, olive oil, or jojoba oil.
- Keep your finished bath bombs in an airtight container to protect them from moisture in the air.
Why Make Your Own Bath Bombs?
Making your own DIY bath bombs is a great project that saves money compared to shop-bought bath bombs. Plus, you get full control over the ingredients, making them safe for sensitive skin by using only natural ingredients and favorite scents you love.
Conclusion
Making your own DIY bath bombs is a simple and rewarding way to bring a little luxury to your bath time routine. With just a few natural ingredients like baking soda, citric acid, epsom salts, and your favorite essential oils, you can create beautiful bath bombs that fizz, moisturize, and scent your bath water without any of the harsh chemicals found in many shop-bought bath bombs. Plus, these homemade bath bombs make thoughtful gifts for holidays like Mother’s Day, Valentine’s Day, and Christmas.
Whether you’re crafting them for yourself or as a gift idea, this fun project is a great way to enjoy a relaxing warm bath after a long day. So grab your large bowl, gather your simple ingredients, and get ready to experience the magic of natural DIY bath bombs made right at home!

DIY Bath Bombs
Equipment
- large bowl
- small bowl
- whisk
- Spray bottle (filled with witch hazel)
- Metal bath bomb molds or plastic Easter eggs
- Airtight container or glass jar for storage
- parchment paper
Materials
- 1 cup baking soda sodium bicarbonate
- 1/2 cup citric acid
- 1/2 cup epsom salts
- 1/2 cup corn starch
- 3 tablespoons avocado oil or other carrier oil like coconut oil or olive oil
- 1/2 tablespoon water
- 15 drops favorite essential oils lavender essential oil recommended
- 1 tsp Optional: mica powder for color
- 1 tbsp Optional: polysorbate 80 to prevent staining if using color
Instructions
- In a large bowl, whisk together the baking soda, citric acid, epsom salts, and corn starch.
- In a small bowl, mix the avocado oil, water, and essential oils.
- Slowly drizzle the liquid mixture into the dry ingredients, stirring constantly. Add a little bit at a time to avoid early fizzing.
- If needed, lightly mist with witch hazel using a spray bottle until the mixture holds together when squeezed (similar to wet sand).
- Firmly pack the bath bomb mixture into your molds, pressing tightly.
- Let the bath bombs dry in the molds or on parchment paper for 24 hours.
- Once dry, carefully remove from the molds and store in an airtight container or a glass jar.


One Comment